
Portal AI connects to your portal and lets you query criteria in plain language to see the matching records directly on your portal, within seconds. This guide walks you through, step by step, how to integrate and start using Portal AI on your portal.
Step 1: Create an Account with Portal AI
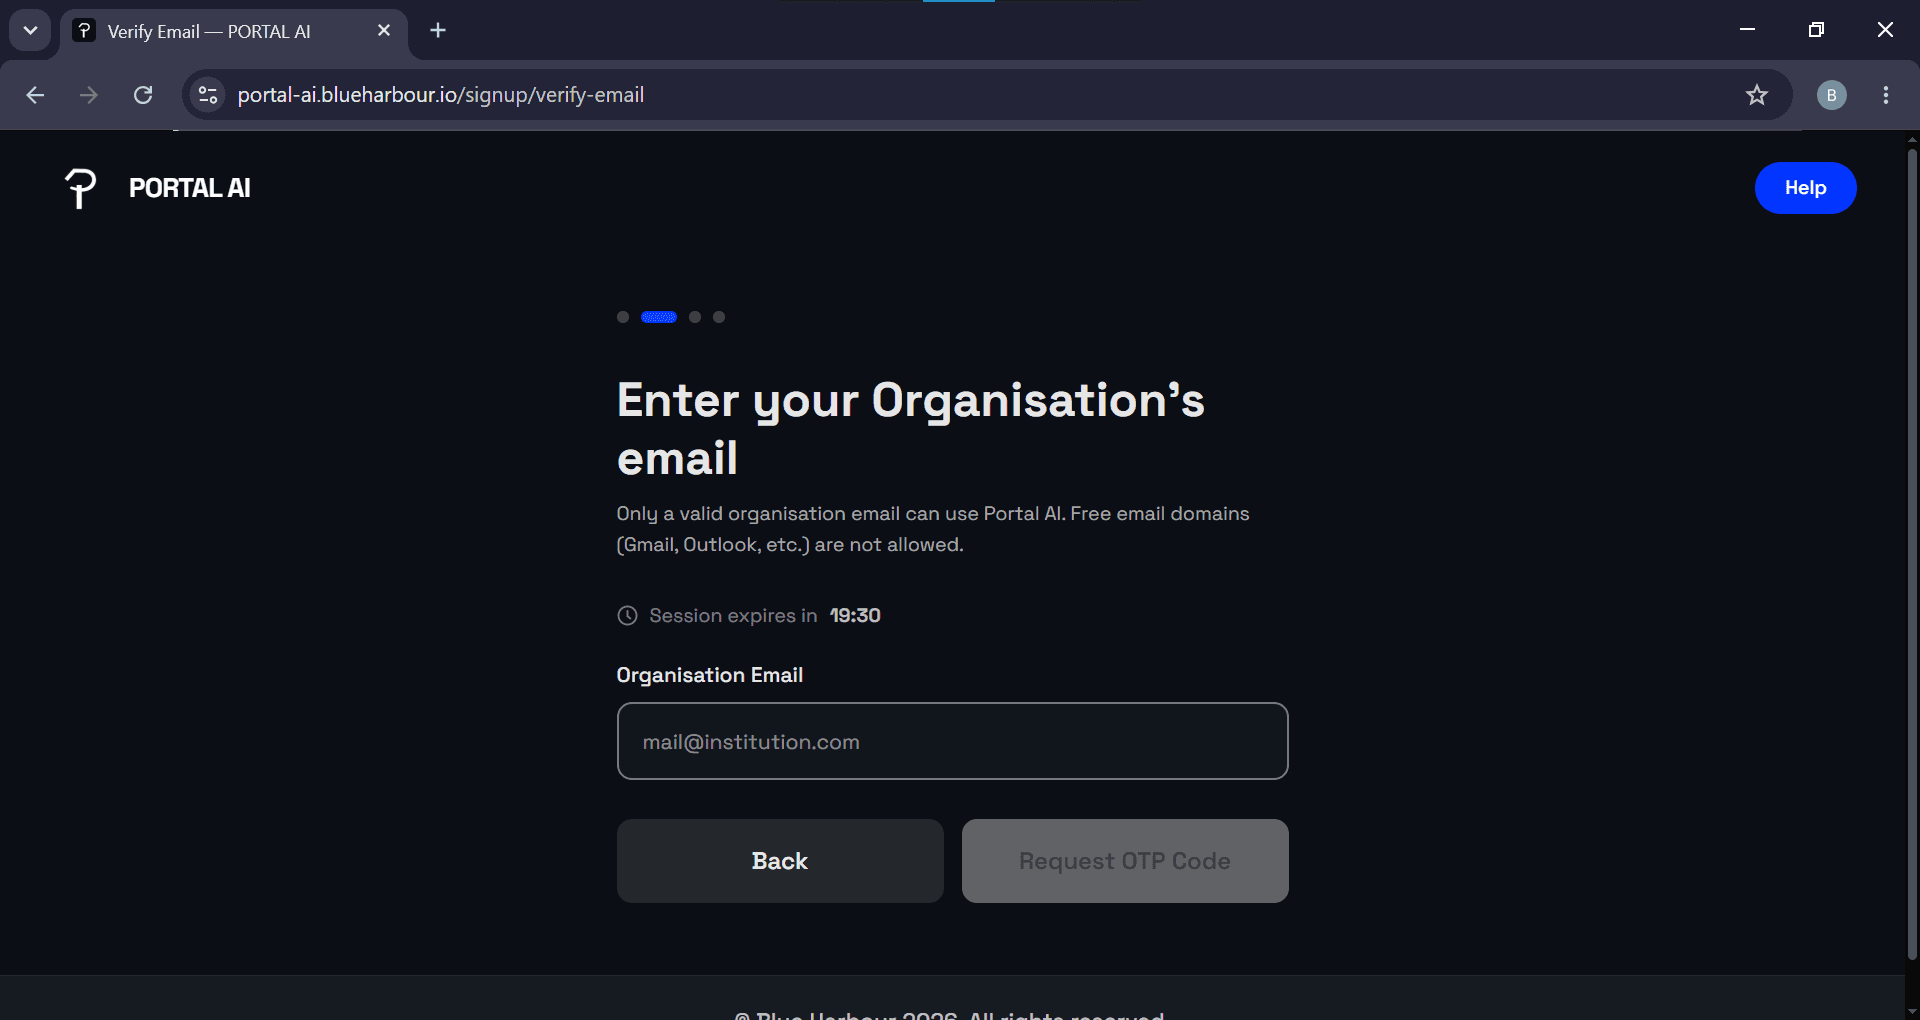
To create a Portal AI account, you’ll need a valid organizational email address. Free email domains (e.g., Gmail, Yahoo) aren’t accepted. This ensures that only authorized members of your institution can set up and manage a Portal AI account.
Step 2: Visit the Dashboard
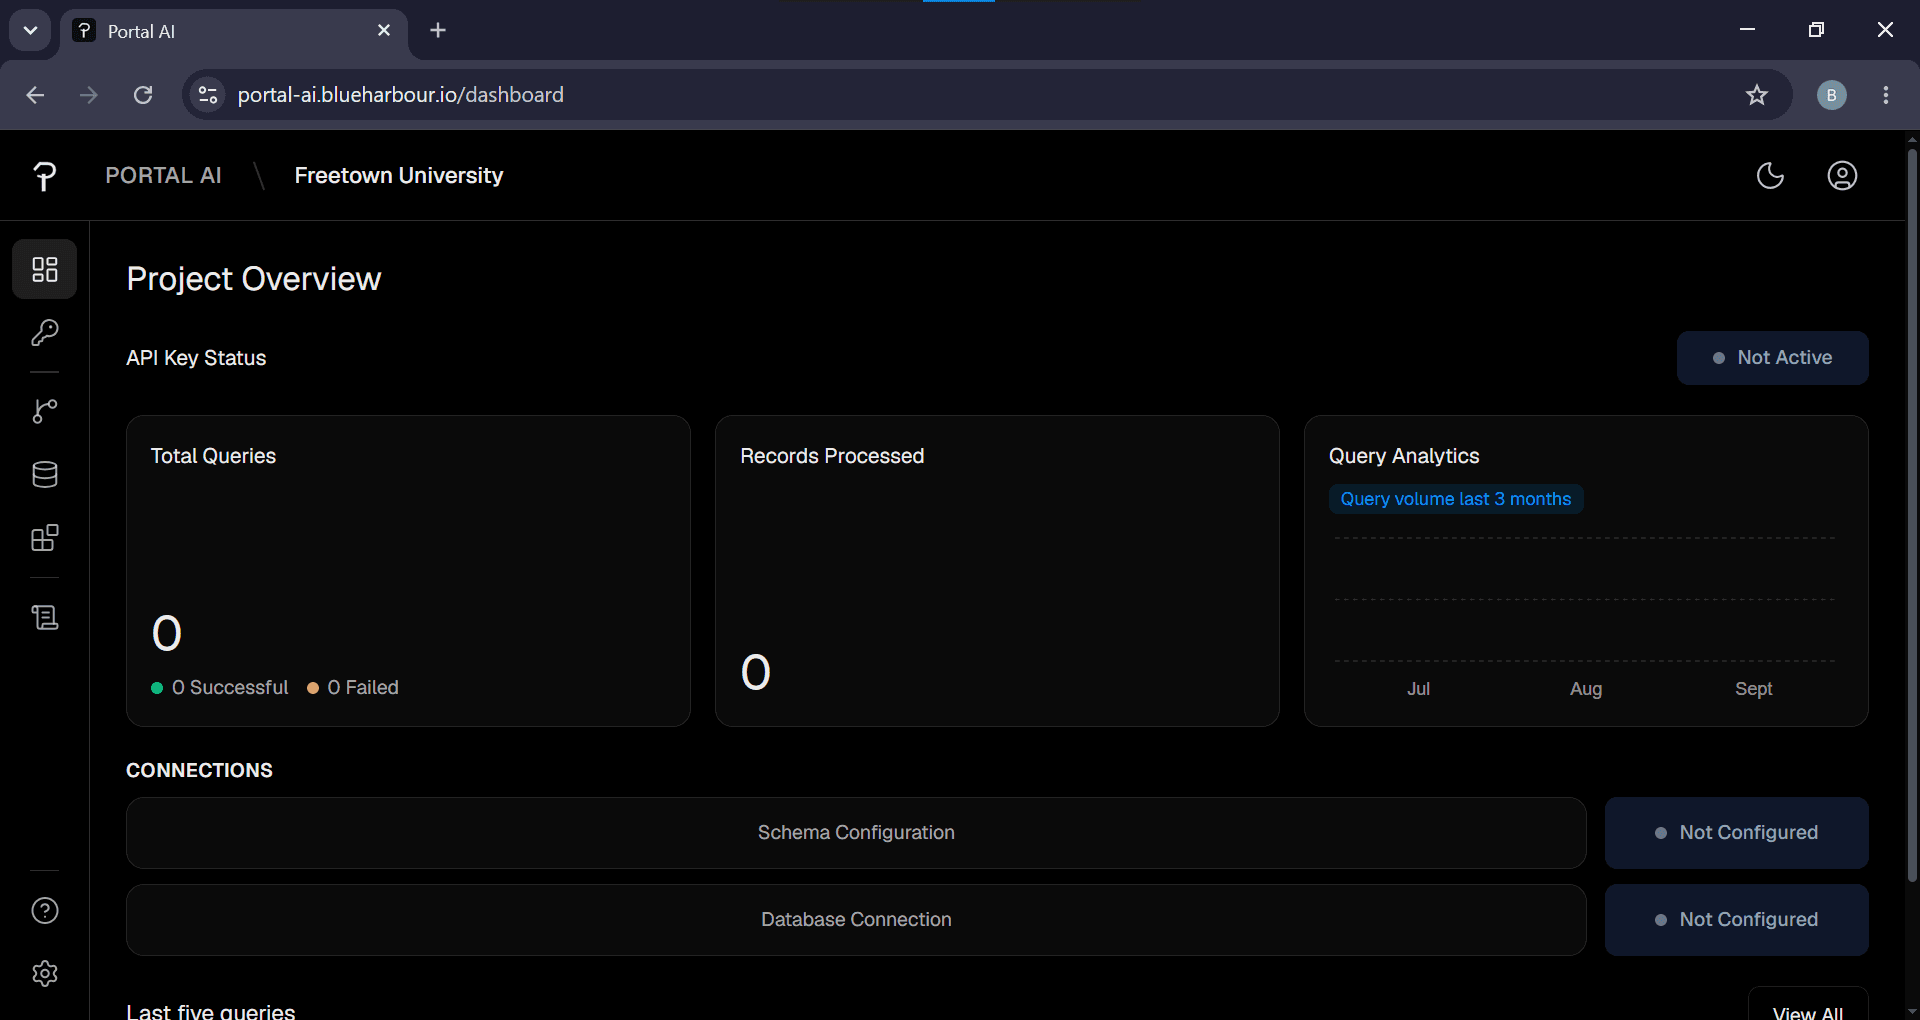
After signing up successfully, you’ll be taken directly to your Portal AI dashboard. If you leave and come back later, simply log in with the email and password you used during sign-up.
Step 3: Visit the API Key Page
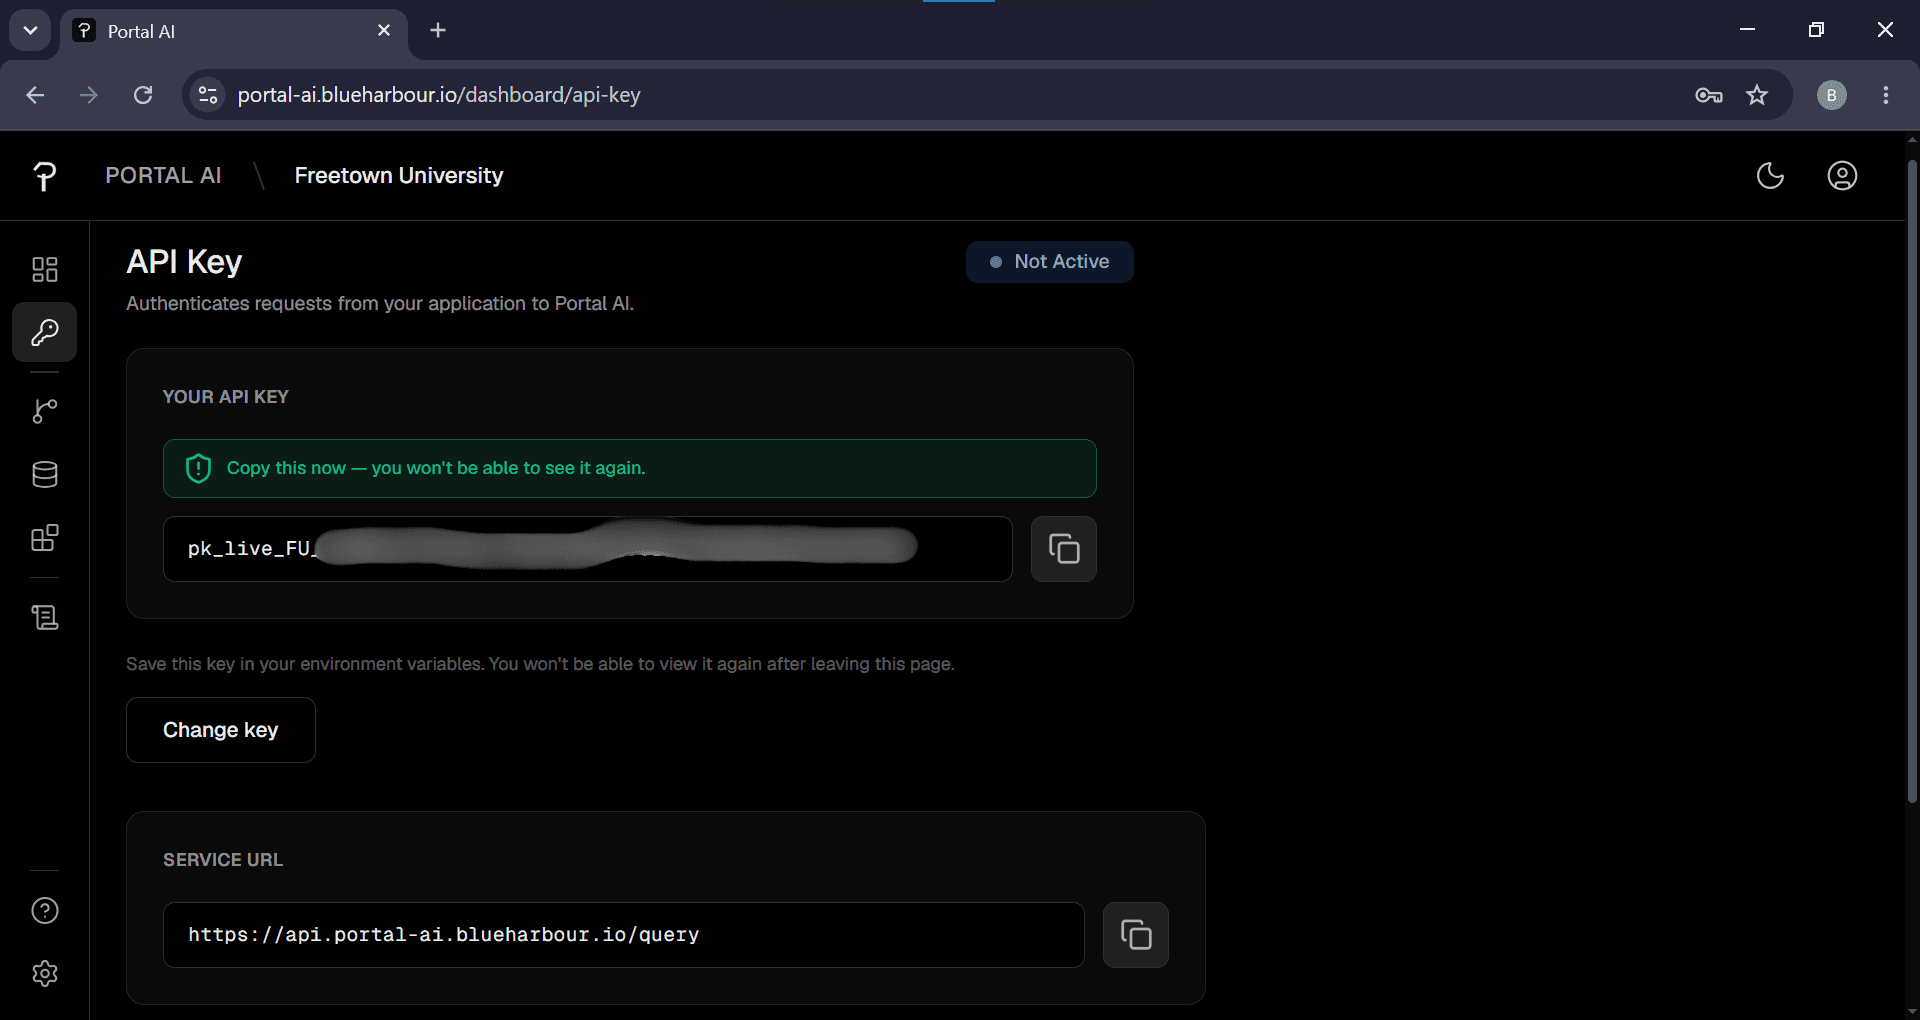
Click the key icon on the sidebar (or on the dock at the bottom of your screen if you’re on a mobile device). Copy your API key and store it somewhere safe. You can change your API key at any time by clicking the Rotate button on the same page. Your API key status only switches to “Active” after you’ve completed Step 4 and Step 5. Please note that your queries will fail if your API key status is “Not Active.”
Step 4: Connect Your Database to Portal AI
Click the database icon on the sidebar (or on the dock at the bottom of your screen if you’re on a mobile device) to get to the Database Connection page. Connect your database by entering your database credentials. If the credentials are correct and your database is live, the connection will show “Verified” on the page.
Portal AI only requires read access to your database. Read our Privacy Policy to learn more about how we handle your data.
Step 5: Visit the Schema Page
Click the branch icon on the sidebar (or on the dock at the bottom of your screen if you’re on a mobile device) to access the Schema page.
Once your database connection is successful, Portal AI automatically derives a schema from your connected tables, which you can view on the Schema page. If your database connection was successful but you don’t see your schema, click the Retry button.
You can add or delete specific field paths on the schema, then save your changes. The page shows one of three statuses: Not Configured (no schema has been derived yet), Pending (a schema has been derived), and Complete (Portal AI has finished confirming your schema, ensuring safe and accurate database queries).
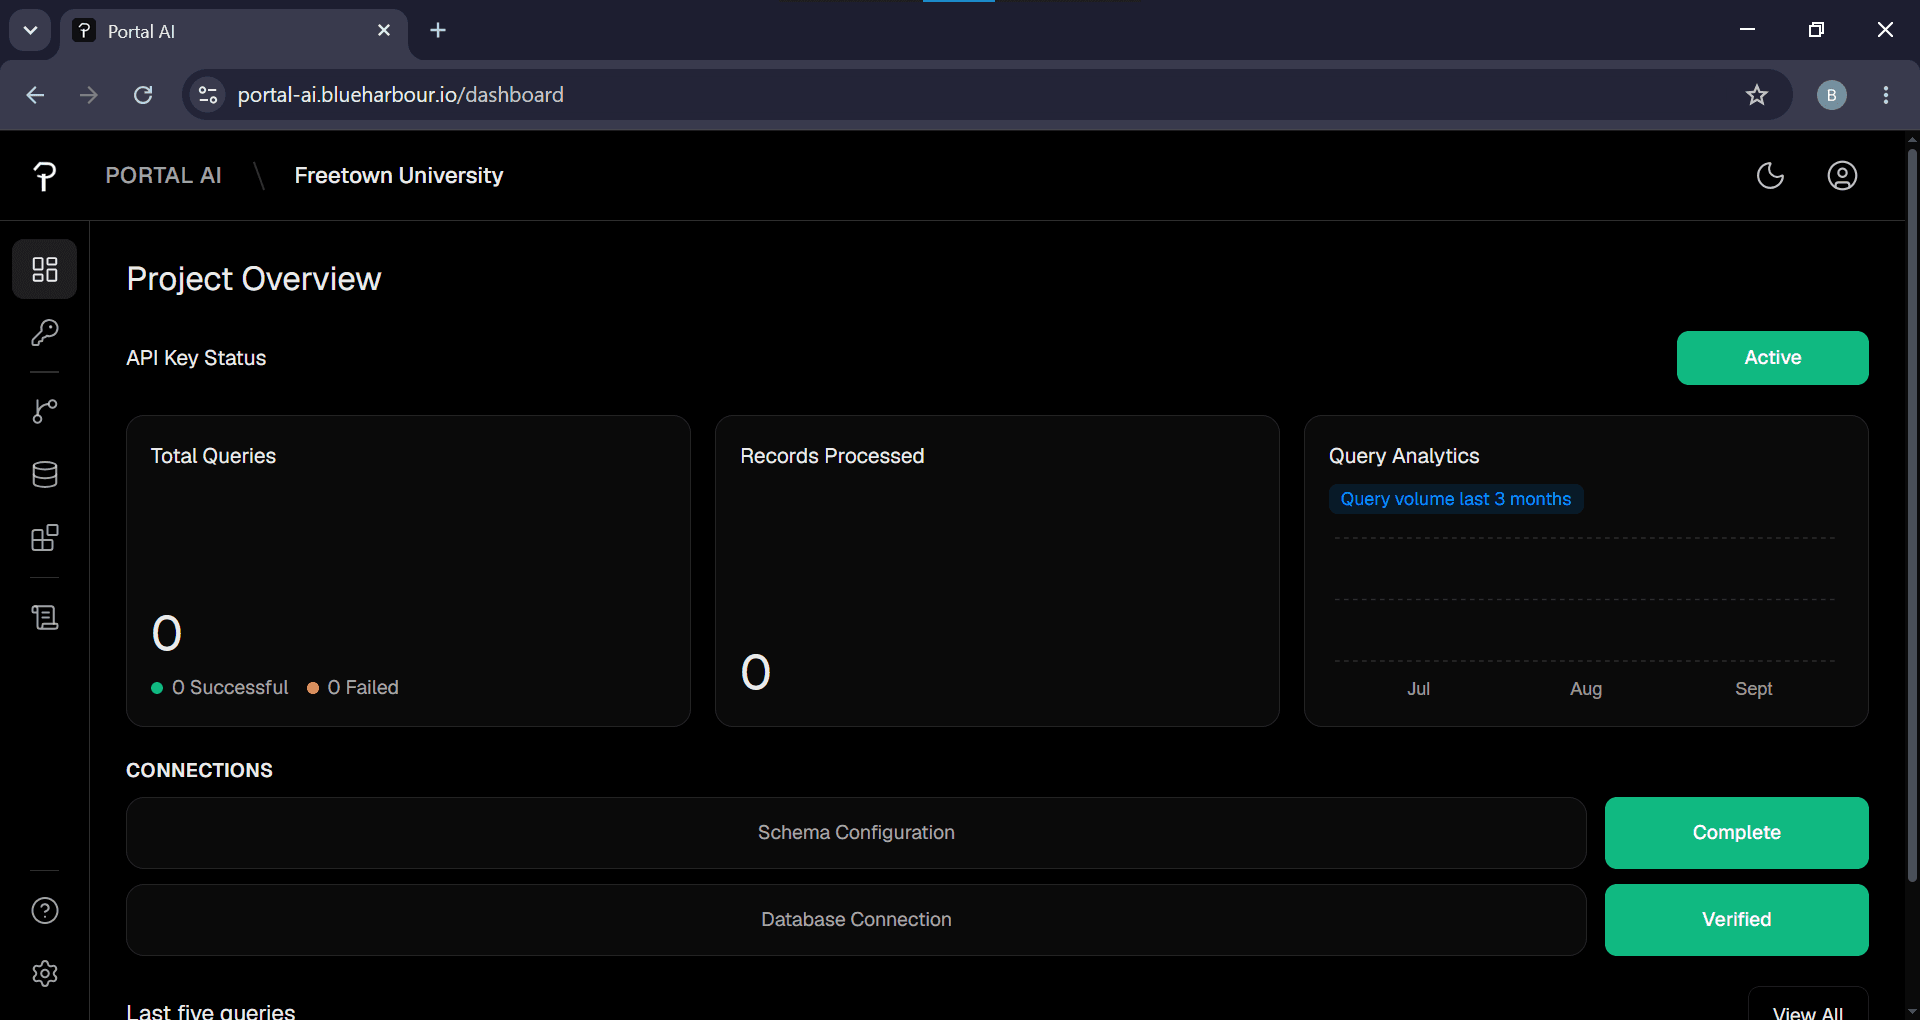
After you’ve completed Step 4 and Step 5, your API key status will change to “Active.”
Step 6: Integrate Portal AI into Your Portal
(a) Copy or Download the SDK Templates from the Integration Page
The page contains templates for frameworks(a proxy route that forwards requests from your portal to Portal AI’s service, keeping your API key secure on the server side), frontends (UI components for the widget that your users interact with directly on your portal), and a small configuration file that the frontend templates use to access the proxy.
(b) Implement the SDK Templates in Your Portal’s Code
(i) Add the Proxy to Your Code
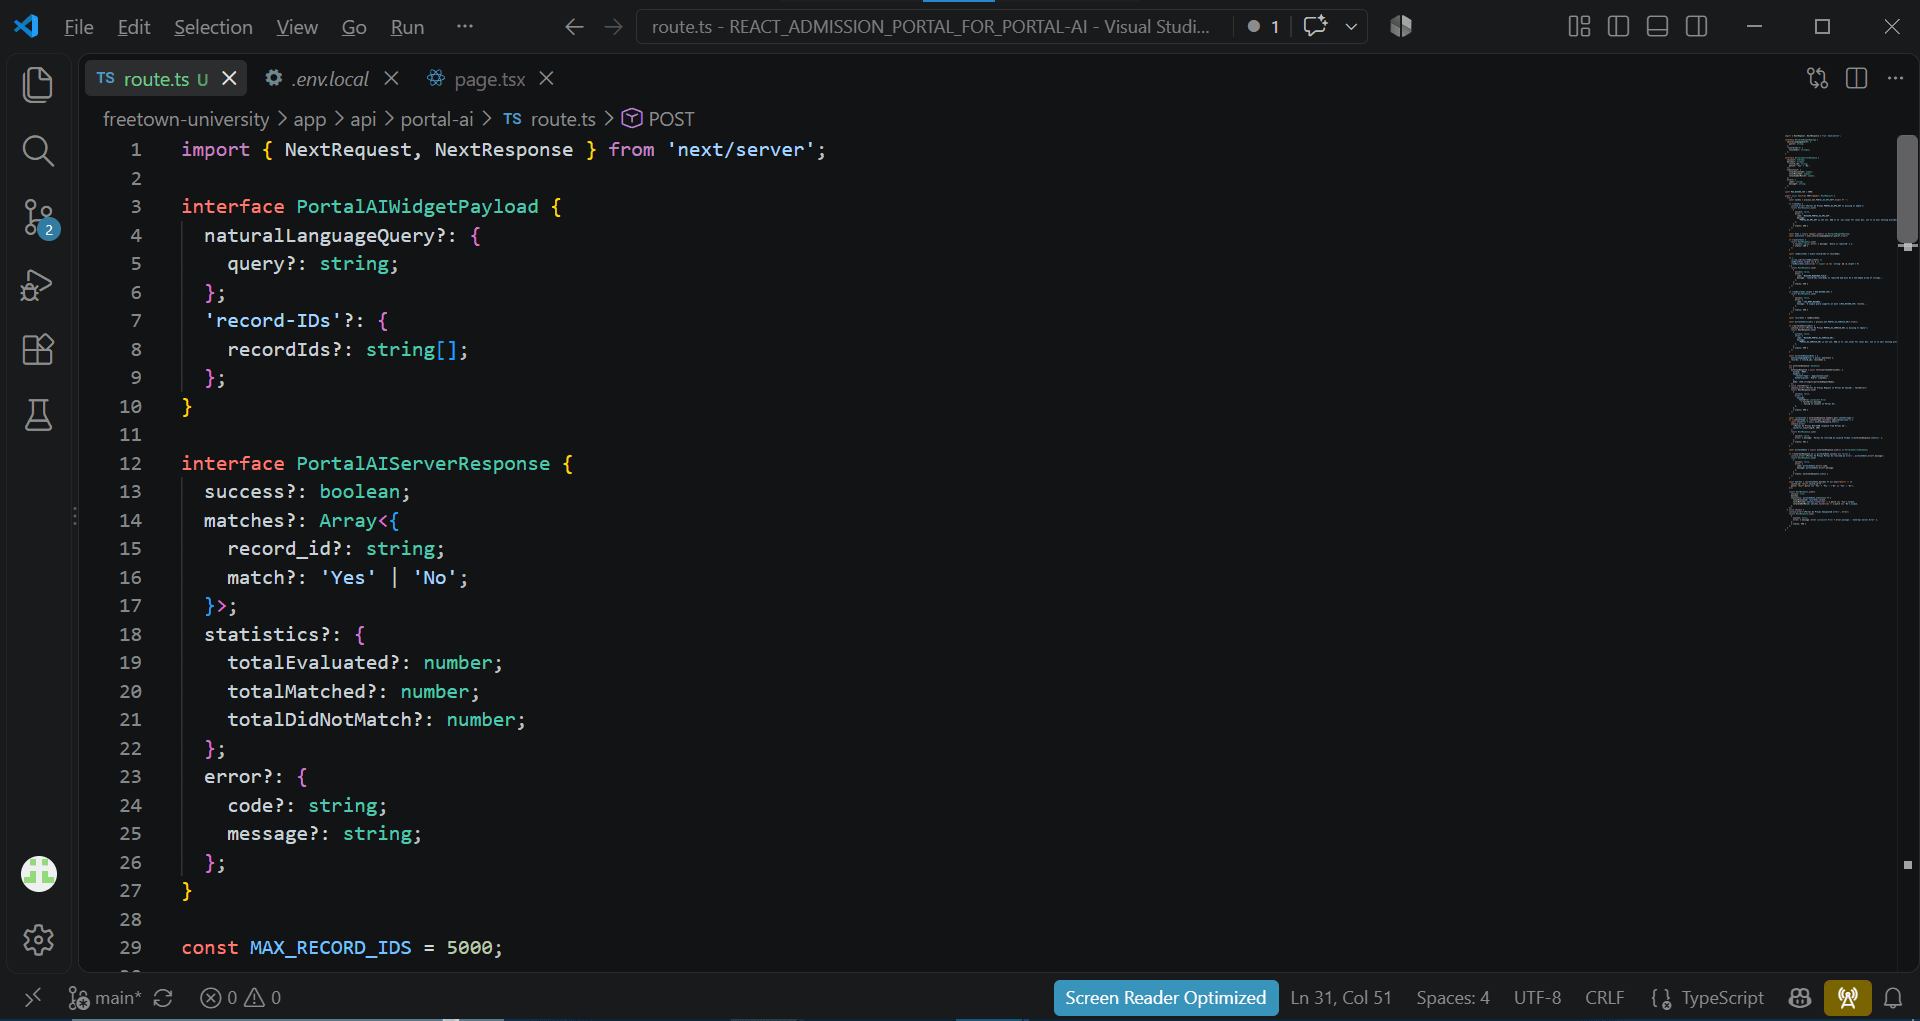
Copy or download the proxy template from the Portal AI dashboard and add it to your codebase so it serves as an endpoint that receives and sends information between the widget and the Portal AI server. The template is already formatted to match the response shape the Portal AI server requires, so no changes to that structure are needed.
(ii) Add the API Key and Portal AI Service URL to Your Environment Variables
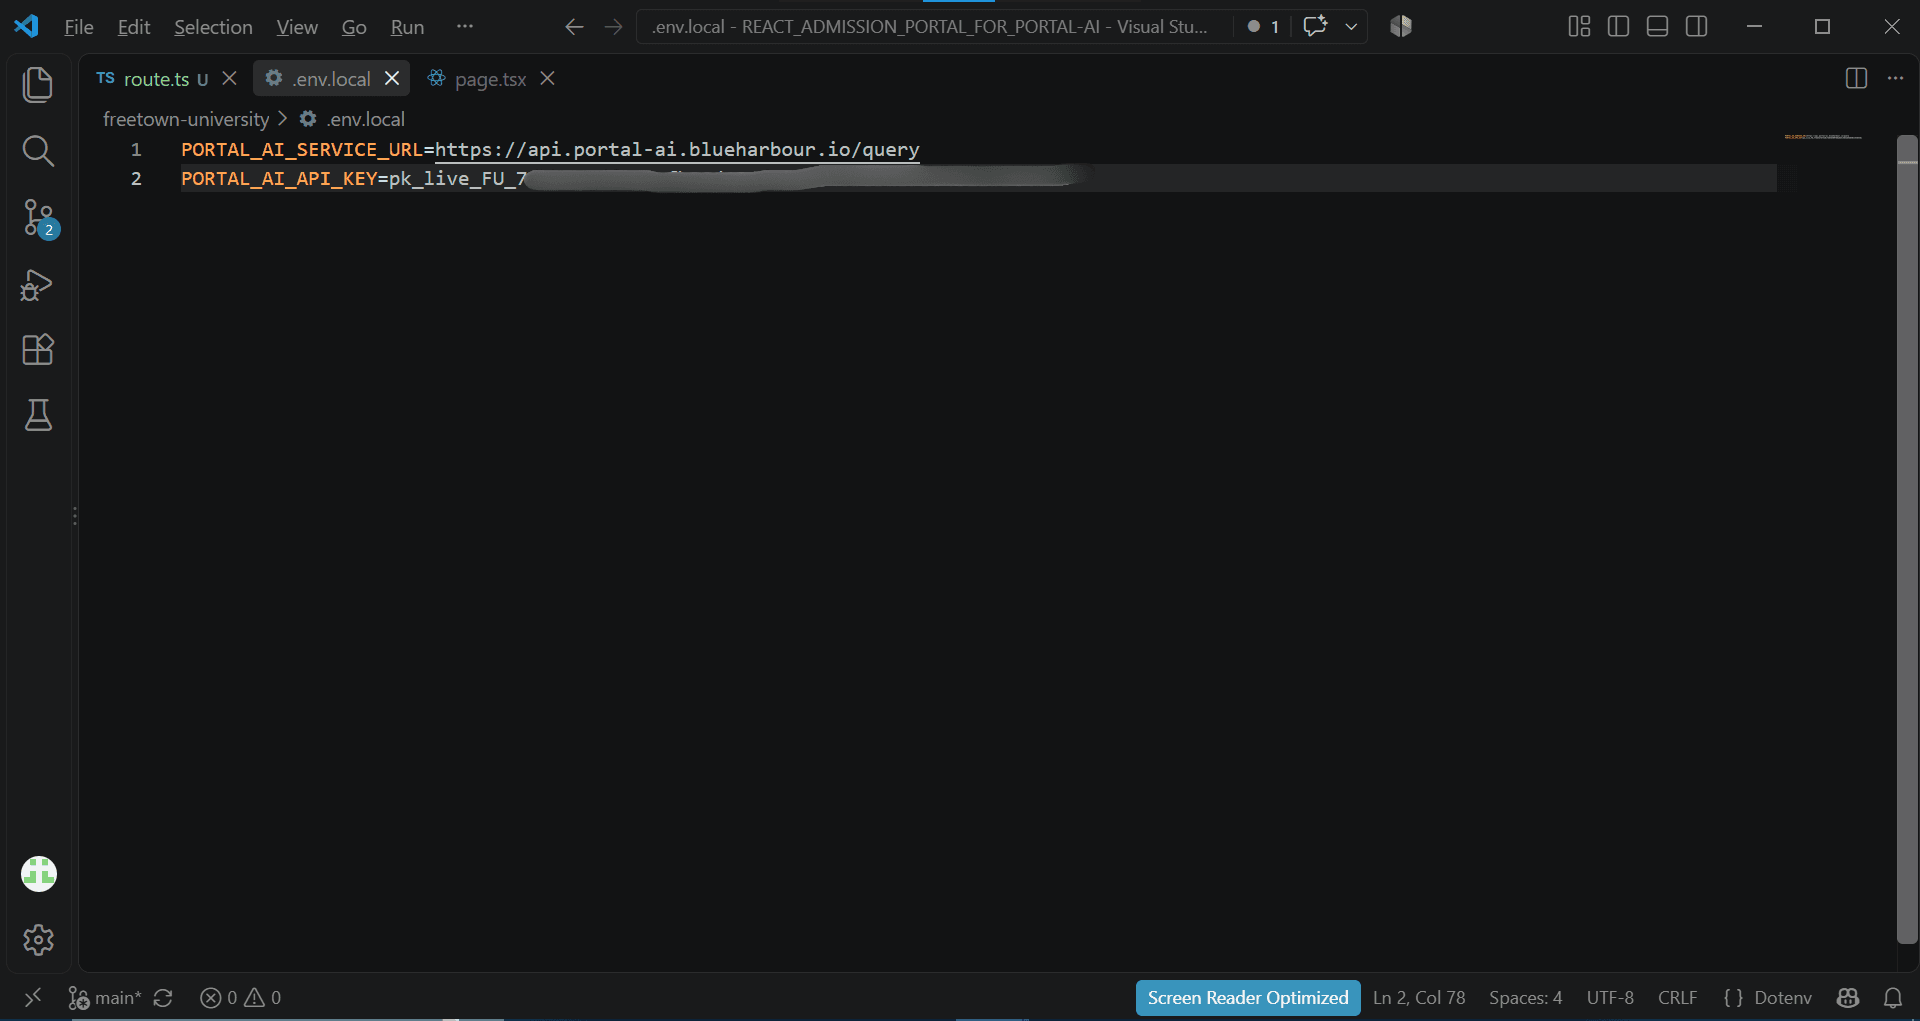
The proxy reads the API key and Portal AI service URL from your environment variables. You can find both values on the API Key page in the Portal AI dashboard.
(iii) Implement the Frontend Code in Your Portal’s Interface
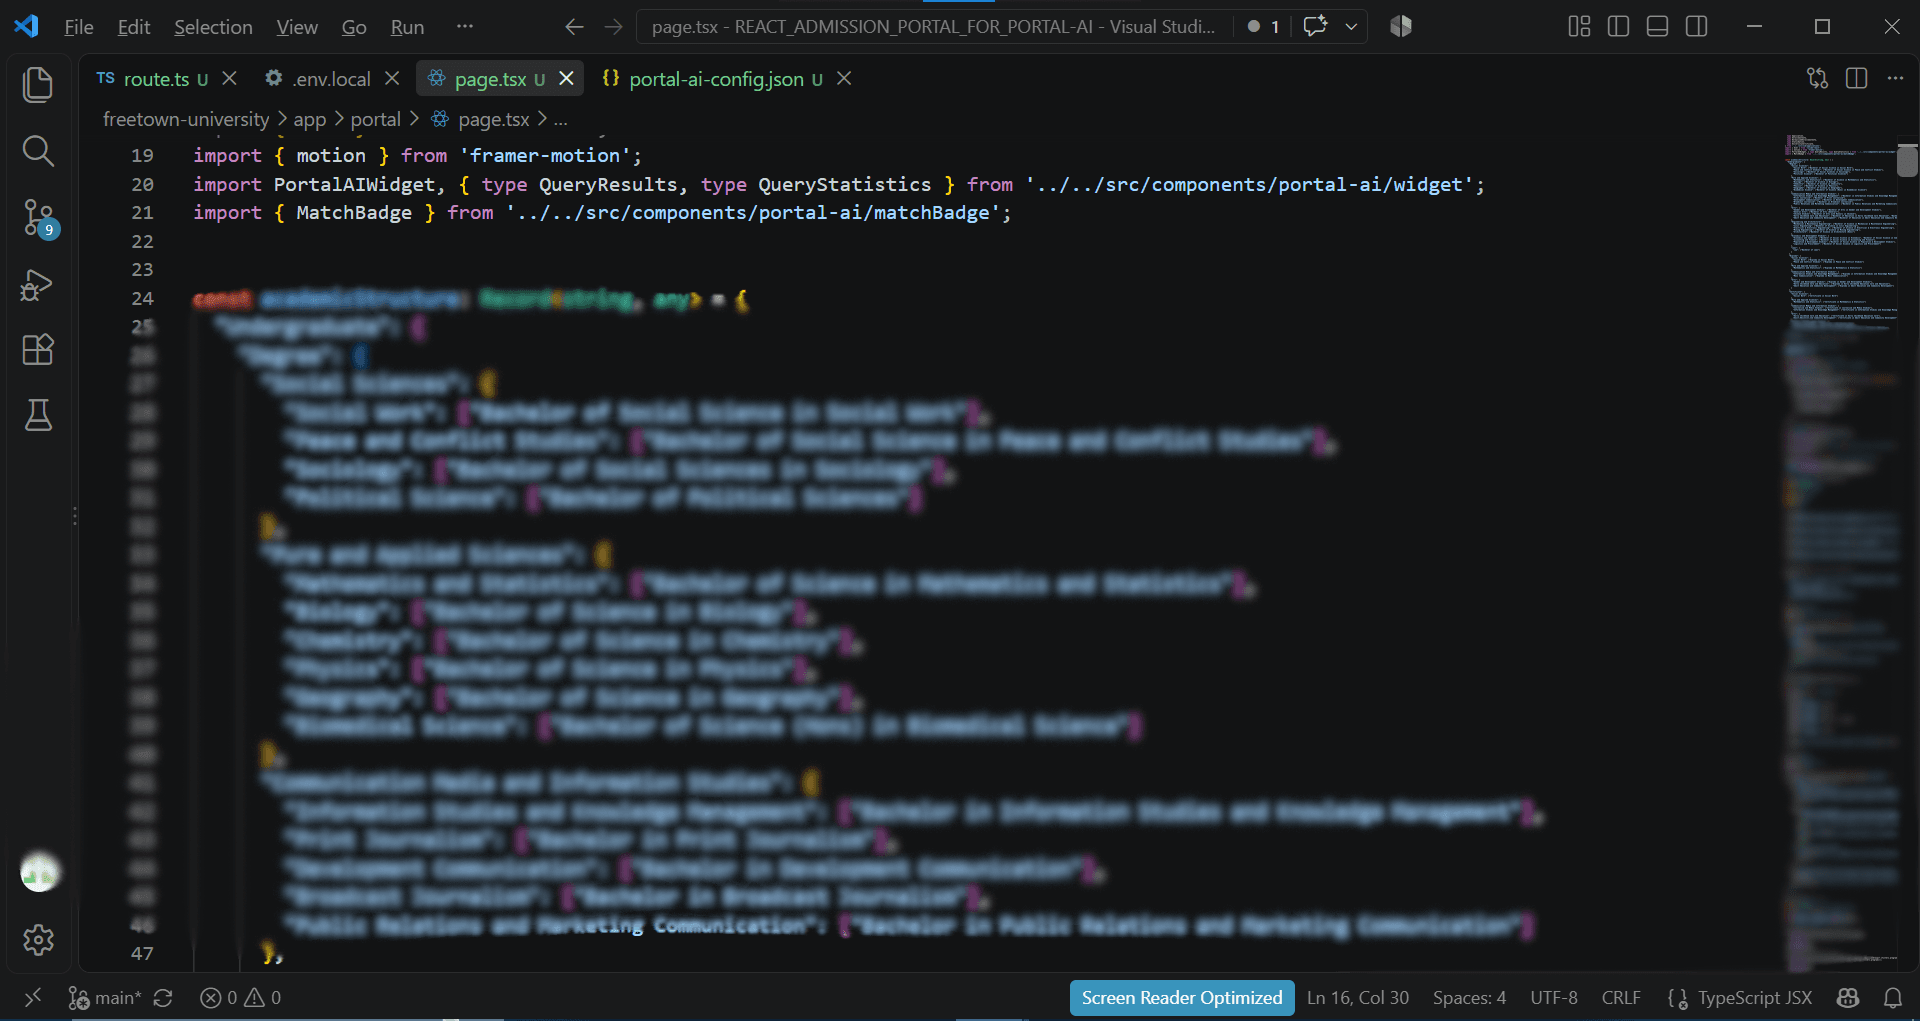
Download all the frontend SDK templates and place them in a single folder. Then import and use its components within your portal’s UI code.
(iv) Set Up Your Configuration File
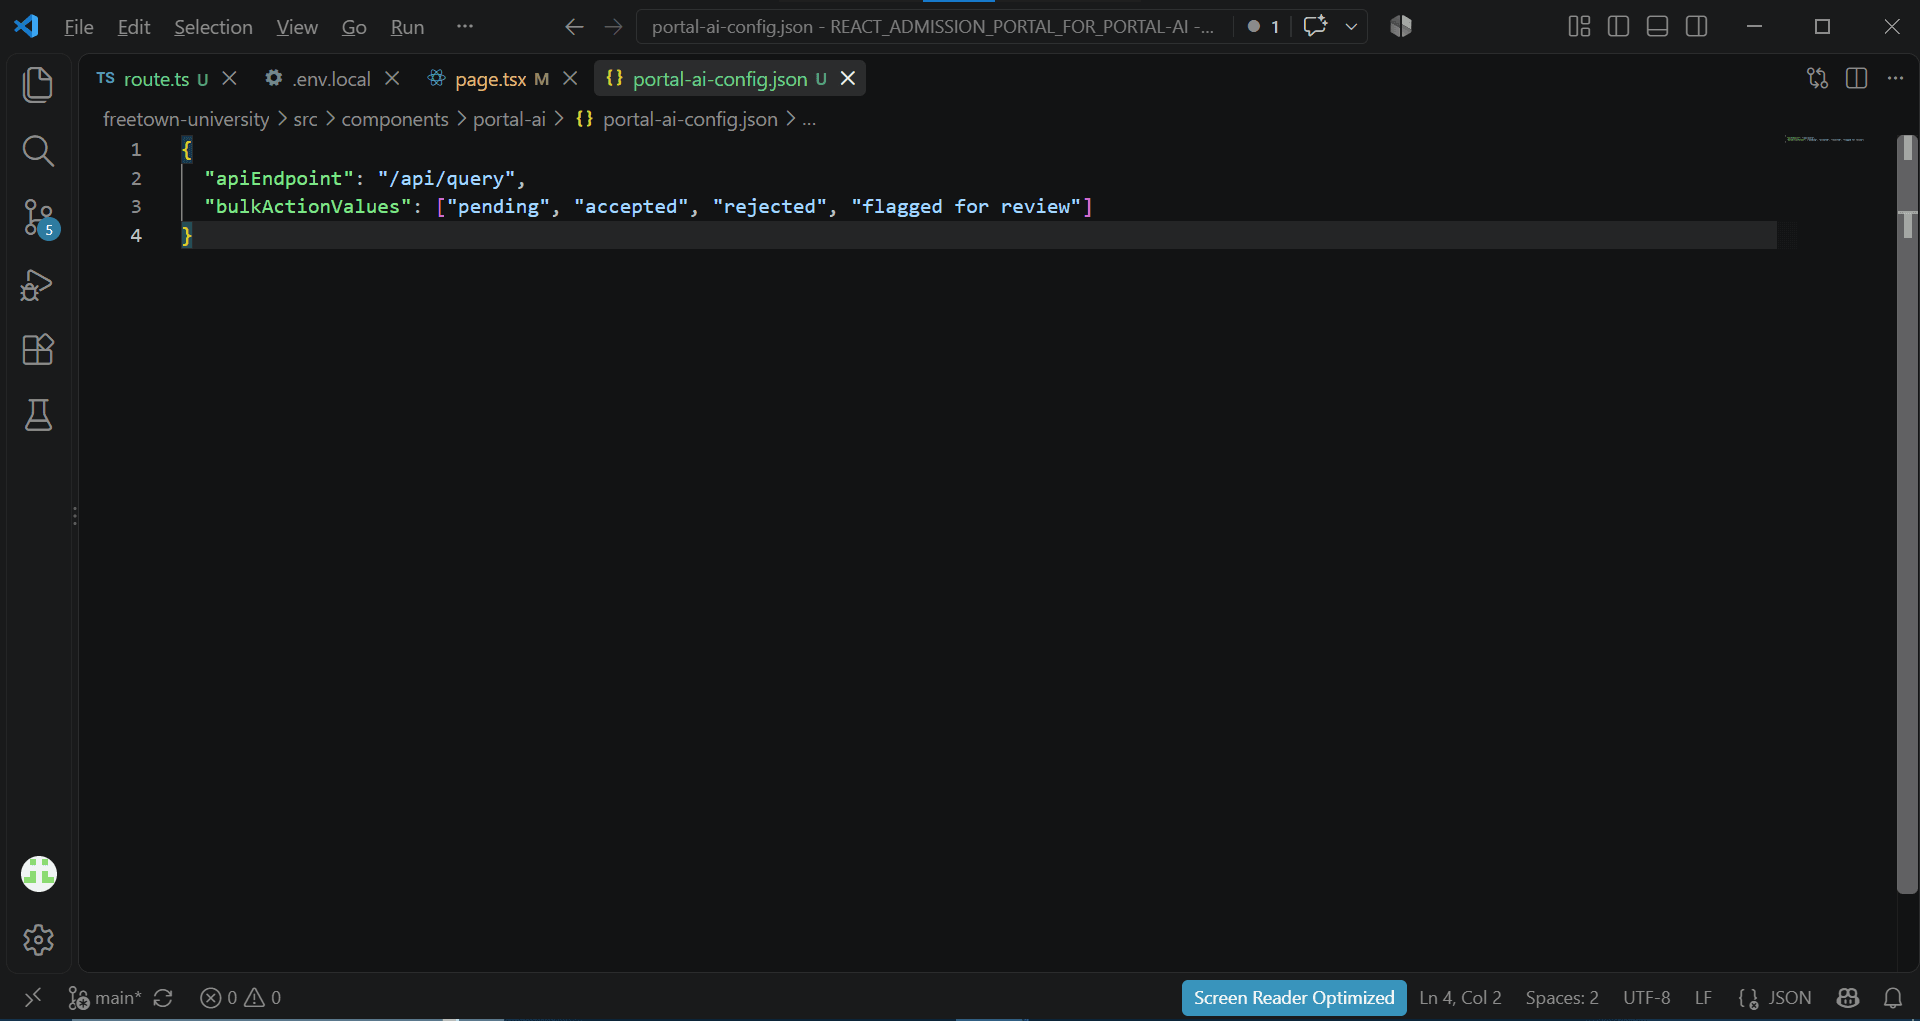
Download the configuration file template from the Integration page and add it to the same folder as the frontend SDK files you set up in (iii). Configure it by adding the relative path to the proxy you added in your code in (i), along with the status values used for your records.
Step 7: Test and Use the Portal AI Widget on Your Portal
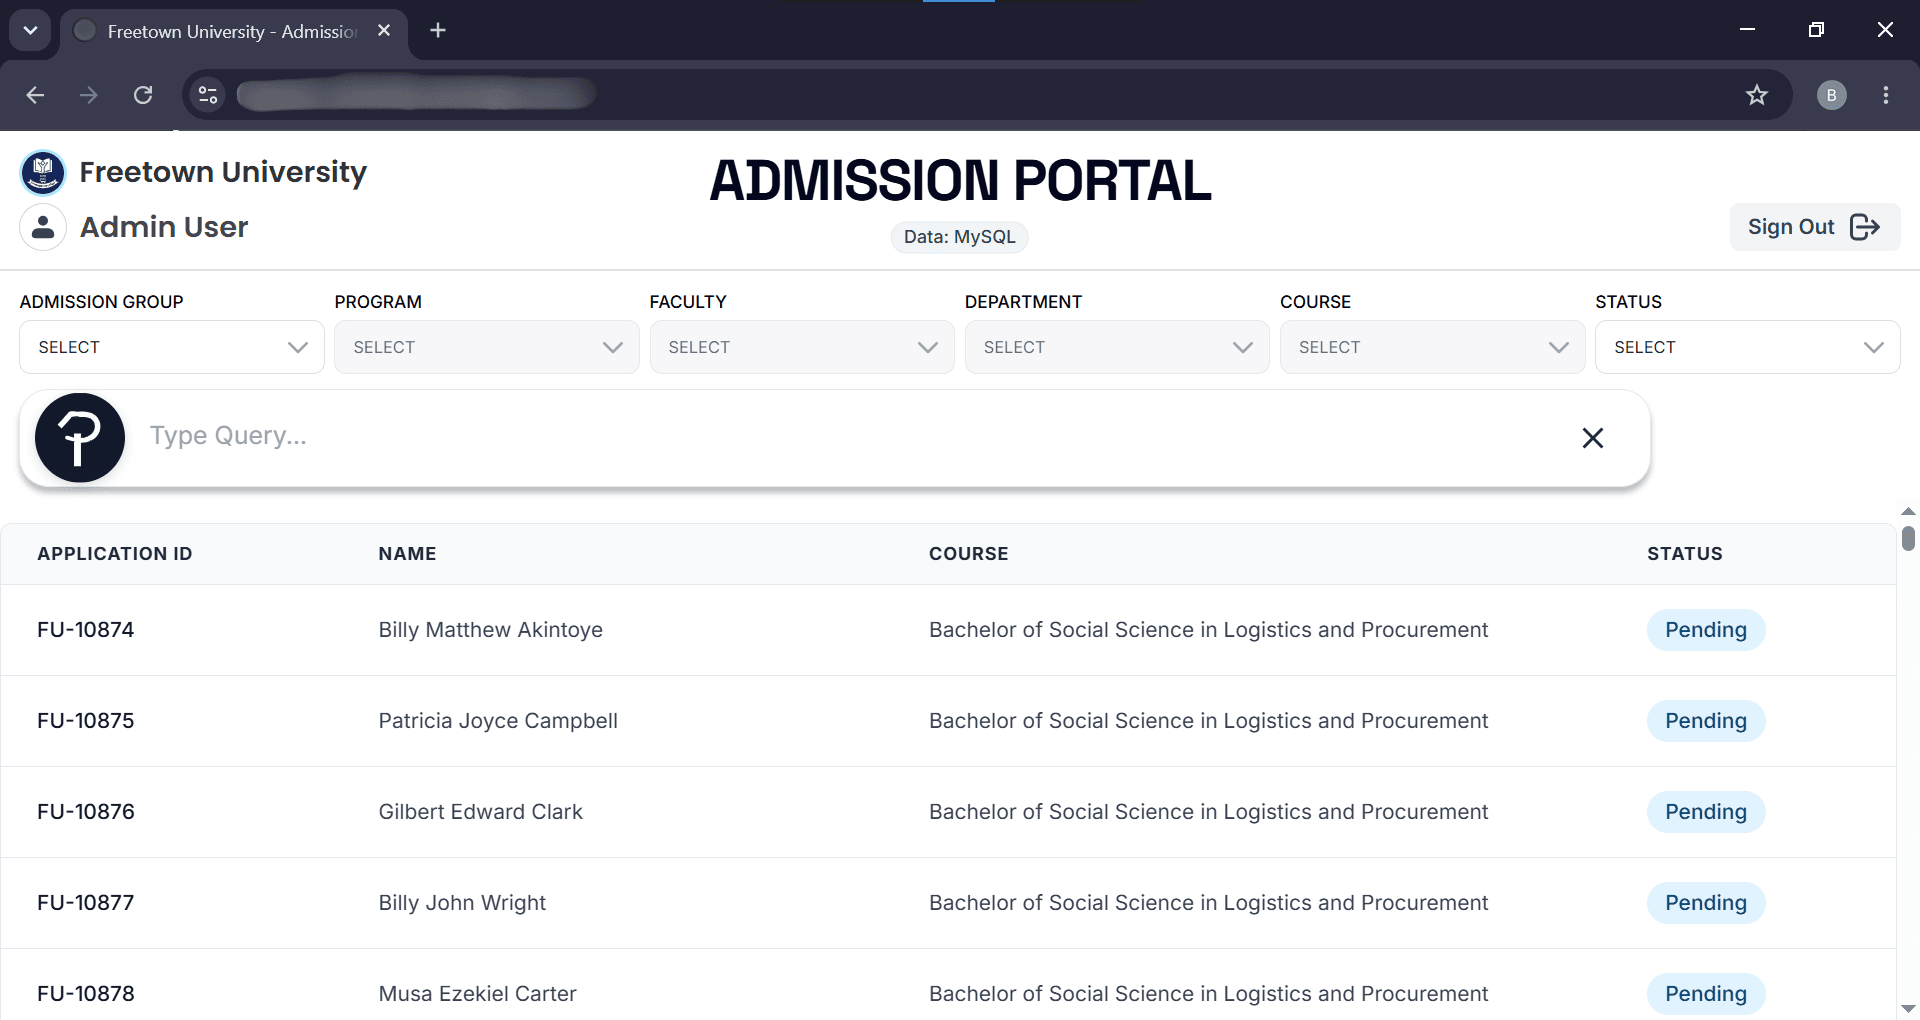
With everything set up, your Portal AI widget is ready to use. Try a few natural language queries to confirm it’s returning the matching records you expect.
Feel free to contact Support if you encounter any difficulty setting up or using Portal AI.